Search This Blog

Sunday, July 11, 2010

Pillows


When I was little, I was told that sleeping with one pillow instead of two would make me taller. I quickly became a one-pillow child after that. I also became quite particular about my pillow: It had to be chunky, firm but soft, fluffy and full-bodied. I still hold this pillow criteria today. Well, that was up until to a few days ago when I discovered something amazing. Something that took my pillow criteria to a new level- an edible kind. You won't believe it until you see it. I didn't believe at first either. But it changed me when I saw it. From a one-pillow person to a several pillow-person. Several pillow cookie person that is. Yes, a pillow cookie. Are you ready to see what that looks like?

Here goes...


Ta-dah! No that isn't just a big chocoate chunk in the middle. It's a BROWNIE chunk! Yes you read correctly. It's a brownie inside a cookie. I know, i know! I'm excited too. Two heavenly things paired together to make one holy goodness.

My flatmate and I made them together as a wee Saturday afternoon delight. And delightful they were.

I found the recipe here. From the one and only Bakerella.

Judging by how excited you are (I know you are..) here is the how to:

Make a batch of brownies (any recipe will be fine, we used this one).


While these are cooking, make your favourite chocolate chip cookie mixture (preferably one that makes a few cookies, check out the one on Bakerella if you can't find one). When the brownies are cooked, cut them into little tiny squares. Then...

Take some mixture:


Form a ball with the mixture. Then make a hole in the ball, and place the brownie inside, wrapping the mixture around it as you go.


Roll the ball as you would with a normal cookie and gently press it with a fork.


Place in the oven at 180 degrees Celsius and bake for 12-15 minutes.


Now, that's what I call a pillow. Well, a pillow cookie. Maybe these are what I have been needing to grow taller! There's still hope...

Monday, June 7, 2010

Tan Square


Hello! It feels like a while since I have blogged. I apologize, I been feeling a bit guilty.

Funny enough it was my boyfriend who inspired me to bake today. He isn't one for requesting particular baking, let alone any, so when he asked if I could make him some Tan Square, I got a wee bit excited.

You would think that somewhere among my copious amount of cooking books I would find a recipe for Tan square/slice. Well I didn't. I was a little amazed at this, but I simply learned that I don't have enough cook books... I reverted to a recipe on the internet. Internet is handy like that.

Luckily for me (and my boyfriend) the recipe produced a fine Tan Square (if I don't say so myself). The base was light and fluffy with a fudgy texture, which added to the gooey caramel topping and crumbled chocolate mixture on top - sounds pretty good huh? It was.

Tan Square:

BASE:

250g butter
1/2 cup sugar
Vanilla Essence
4 cup flour
1/2 cup chocolate chips

The how-to:

Soften the butter, then add sugar and vanilla, beating until light and fluffy. Stir in flour. Grease a 23cm tin and spoon 2/3 of the mixture, pressing down to flatten.


Add the chocolate chips to the remaining mixture, then place in fridge.


TOPPING:


(What a glorious sight. At home in my parents fridge, you will often find an open can of this sitting there, and usually my dad too, with a spoon in hand)

1 can of condensed milk
3 Tablespoons of golden syrup
60g butter, diced

The how-to:

Place ingredients in a saucepan. Turn heat on low and stir until butter is melted and ingredients are well combined.


Pour it over onto the prepared base


Crumble the remaining mixture on top and bake for 20-25 minutes.


Cool completely before cutting into squares


Saturday, May 8, 2010

Birthday Coconut Cream Layer Cake with Chocolate Icing (- what a mouthful!)


In my opinion, it's not a birthday party without a birthday cake. So when I went to my friend's birthday during the week, I took her along a cake. She suggested she wanted a Coconut Cake so I went hunting for a recipe. I chose one that used coconut cream, in hope it would be moist, as well as for something a little different.

When the layers came out of the oven they looked extremely dry and I was worried they had failed the moisture test. Cakes can be scary things to make for a large number of people, because you can never test them to make sure they will be ok! Hence, I was a bit nervous when watching people take their first bite...

To my relief, it wasn't too dry at all, but rather, it was light, spongy, and velvety - a texture which I hadn't really come across before. It's a MUST-TRY recipe. Just beware of the icing, it is rather delicious.

Coconut Cream Layer Cake with Chocolate Icing

2 1/4 cup plain flour
2 tsp baking powder
1/2 tsp baking soda
1/2 tsp salt
150 g butter, room temperature
1 1/3 cup sugar
4 large egg yolks
1 tsp vanilla essence
3/4 cup coconut cream/milk
4 large egg whites

Preheat oven to 190' C. Lightly grease 9 inch round cake tins and line with baking paper.

In a medium bowl, whisk togehter flour, baking powder, baking soda and salt.

In a large bowl, cream together butter and sugar until mixture is light and fluffy. Mix in egg yolks and vanilla until mixture is smooth. Alternating wet and dry ingredients, add in the coconut milk and flour mixture in 3-4 additions, ending with a final addition of the flour mixture.

In another bowl, beat egg whites to soft peaks with an electric beater. Fold in the egg whites into the cake batter. Make sure no streaks of egg white remain visible. Divide cake batter into prepared round cake tins.

Bake for 25 minutes or intil a toothpick inserted comes out clean. Turn cakes out onto a wire rack and remove baking paper, allowing them to cool completely bofore icing.

Once the cakes have cooled, place one of the layers on a serving plate or cake stand.

I poked several holes into the layers with a toothpick before topping with the coconut filling (see recipe below)- to prevent the cakes from drying out.

Place second cake layer on top-side-down, so that the flattest part of the cake is on top. Press down gently.
Use a spatula to ice the sides and top of the chocolate coconut icing. I decorated mine with sugar flowers, and added a handful of shredded coconut to mine, to give it a 'rough' look. But you can decorate to your hearts content.

Coconut Filling


6 Tbsp sugar
1.2 cup sour cream
2 Tbsp coconut cream/milk
1/2 cup shredded coconut

In a small bowl, combine all ingredients. Refridgerate until ready to use.

Coconut Chocolate Frosting

1/2 cup butter
2 oz chocolate
1/4 cup cocoa powder
2-3 cup icing sugar
5 Tbsp coconut cream/milk
1 tsp vanilla essence
1/2 tsp salt
handful coconut (optional)

In a small, microwave safe bowl, melt together butter and unsweetend chocolate. Heat in 30-45 second intervals, stirring frequently, until mixture is smooth. Cool for 10-15 minutes, or until mixture is at room temperature.

Transfer butter mixture to a larger bowl. Beat in cocoa powder, 2 cups icing sugar coconut cream/milk, vanilla and salt, beating until icing is smooth and slightly fluffy. Add additional icing sugar to thicken if needed. Icing shoud be at room temperature before using.


Happy Birthday Jo!x

Tuesday, May 4, 2010

Blueberry and Apple Pikelets


I love spending my weekend mornings in the kitchen making a leisurely brunch or breakfast - especially when there are people around to eat it with! My friend down the road often takes advantage of this.

Last Saturday morning I made some blueberry and apple pikelets. I used a recipe from the trusty old Edmonds cookbook, and added grated apple and blueberries.

Here's the recipe in case you'd like to have them yourself this weekend:

Ingredients:

1 Cup Flour
1 Tsp Baking Powder
Salt
1/4 Cup Sugar
1 Egg
3/4 Cup Milk
1 Apple Grated
1/2 Cup Blueberries (frozen or fresh)

Process:

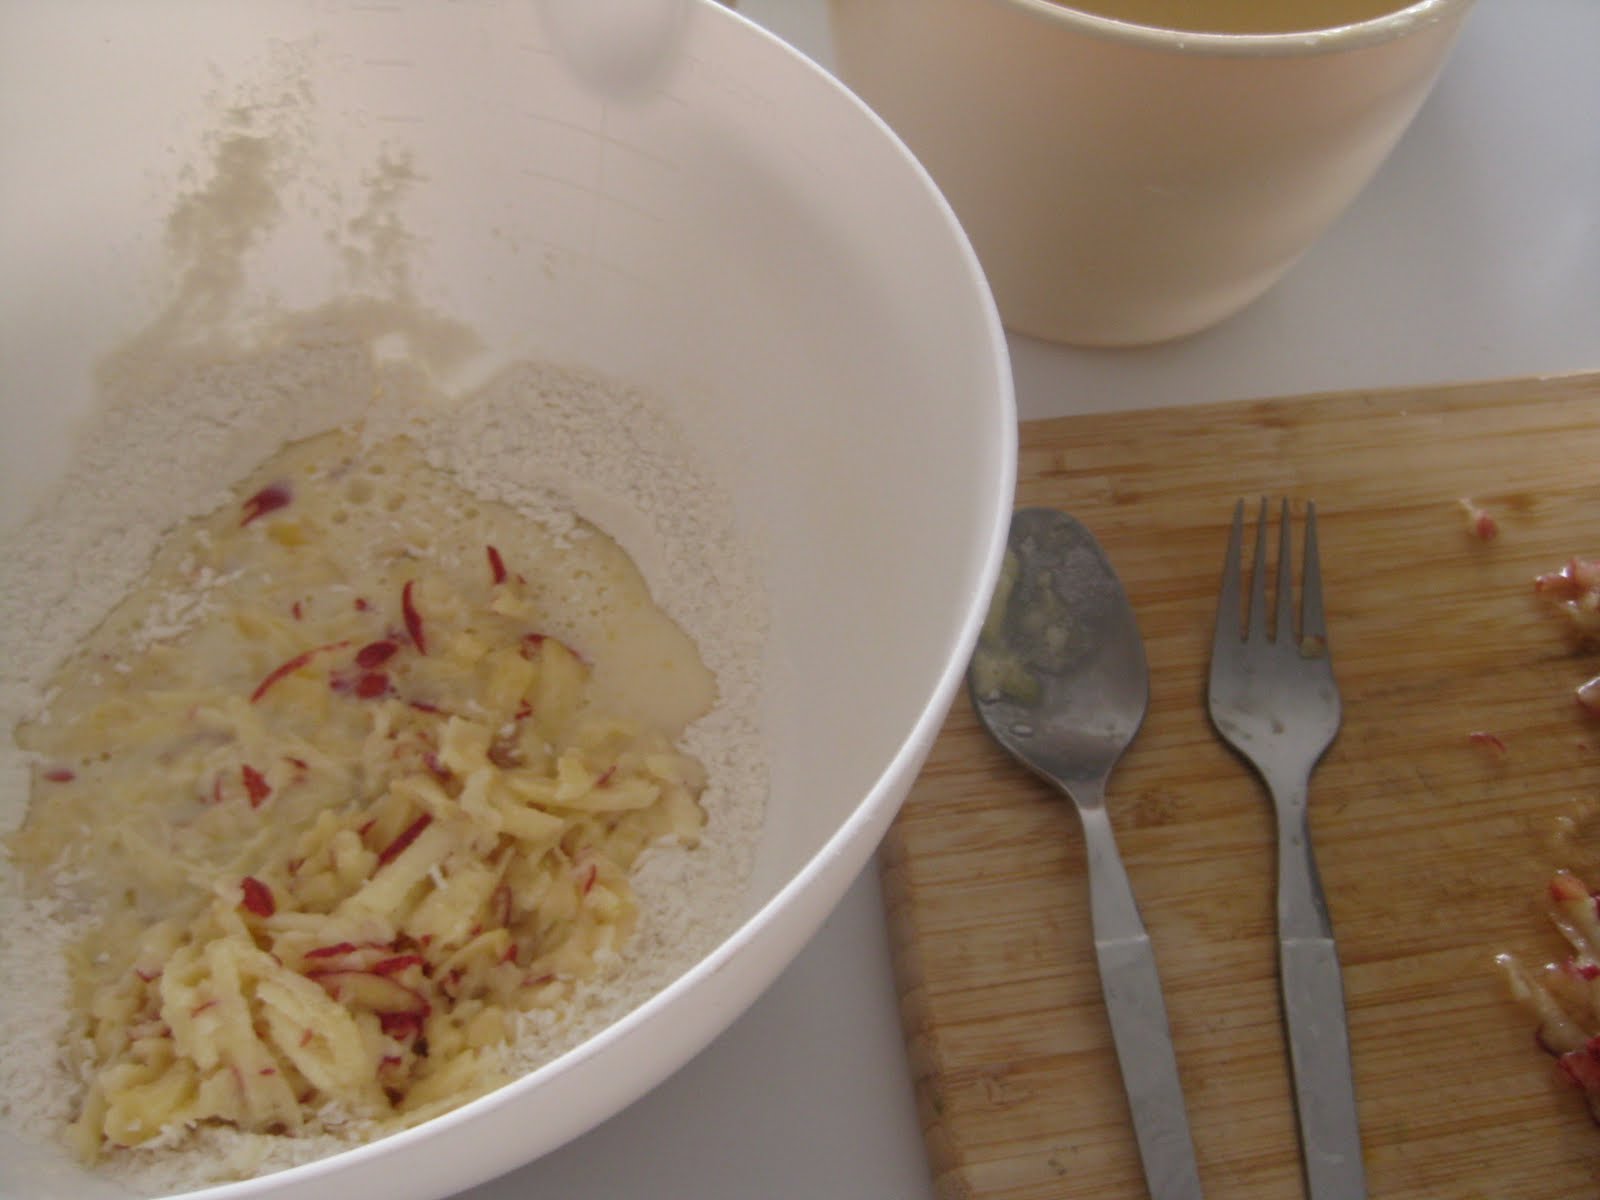
Sift flour, baking powder, and salt into a bowl. In another bowl, beat egg and sugar until thick. Add apple and mix to combine. Add this mixture with the milk to the sifted ingredients.

Gently fold in blueberries.

Drop tablespoons of the mixture from the point of the spoon onto a hot, lightly greased girdle or non-stick frying pan.

Turn over when bubbles start to burst on top surface. Cook second side until golden.
Makes 10-12.

Serve warm drizzled with maple syrup, sliced banana and a dollop of ice cream...


Friday, April 30, 2010

Apricot and White Chocolate Muesli Bars

Growing up, muesli bars were always a bit of a treat. Mum used to make the best home made ones using a combination of weetbix, oats, sugar, dried fruit, honey, butter and (a heap of) peanut butter then wrapped them in tin foil as if they were bought from the shop.

This recipe is perhaps a wee bit better for for you as it uses oil rather than butter and it doesn't have peanut butter or sugar. But they still taste amazing- promise! I adapted it from Annabel Langbein. Again, the operative word being 'adapted' as I never can seem to stick to a recipe. Maybe I should work on that..?

Apricot and White Chocolate Muesli Bars

3 cup rolled oats
1 cup finely crushed Weet-bix
1 cup nuts and or seeds
1/2 cup coconut
1/2 cup dried apricots, finely diced
3/4 cup flour
3/4 cup warmed honey/maple syrup
1 cup flavourless oil (e.g. grapeseed)
1/2 cup melted white chocolate

(Anything can be subsituted in this recipe, as long as the wet to dry ingredients are kept the same).

Preheat oven to 160' C. Line a 30cm x 24cm sponge roll tin. Mix oats, nuts, weet-bix, coconut, apricots and flour in a bowl. Combine warmed honey and oil and stir to combine.

Press firmly into tin a bake for 30 mins or until crisp.


Cool slightly begore cutting. When completely cooled, drizzle with melted chocolate.


Nom nom nom...


I have been muching my way through this tin all afternoon. I may have found my new favourite muesli bar...

Saturday, April 3, 2010

Easter Cupcakes

After making cupcakes at work yesterday, a four year old girl told me that the difference between muffins and cupcakes were that cupcakes were muffins with cups and muffins were plain and didn't have cups. I wasn't so sure. Children's working theories never fail to surprise me!

Baking with children can be a little stressful at times - especially when you have 10 of them at the table with you. They just can't seem to help themselves from licking the spoon, or dipping their fingers into the mixture...

Here is a recipe that is great for doing with children (or by yourself!):

Ingredients:
125g Butter (softened) 1 Cup Plain Flour
1 tsp Vanilla Essence 2 tsp Baking Powder
1/2 Cup Caster Sugar 2 Tbsp Cocoa
2 Eggs 1/4 Milk (I used 3 Tbsp Sour Cream)

Cream butter and sugar until light and fluffy. Add vanilla, then eggs, one at a time, beating well after each addition. Sift flour, baking powder and cocoa together. Fold into creamed mixture. Stir in milk or sour cream. Place 18 patty cases in patty tins. Spoon mixture evenly into paper cases. Bake at 190 degrees celcius for 15 minutes or until cakes spring back when lightly touched. Transfer to a wire rack.


Decorate to your hearts content


Happy Easter and happy baking everyone.x

Friday, March 26, 2010

A little over-board?


I made a promise to my boyfriend a long time ago that I would make him a cake - not just any cake however, his favourite- carrot cake (with cream cheese icing of course). Although it's a few months later, I finally made one tonight.

I'm all about my decorating at the moment and have been wanting to try out my Nutbrown Icing Set that I was given a while ago. Unfortunately it didn't work so well i.e. it fell apart (darn)! So yet again I reverted to my trust worthy Icing set from the super market...

I didn't really have any decorating 'plan' in mind which is perhaps why I went a little over-board:


And a little more still:

...and just a tad more:Walnuts!

No matter what, you can never go too over-board with cream cheese icing...at least that's what I think. I know my boyfriend would agree to that.

I'm off to lick the rest of the bowl! Mmm..

Hope you all have a happy weekend.x